
Simplify Your Life &
Align with Your True North
Choose Your Path
-

Simplify
-

Introspect
-

Quotes
-

Inner-Voice
-

One-Person Business
-

Financial Freedom
106: Walkthrough of Student Experience of Member Areas in Squarespace
In this video, I’d like to show you how a student experiences your course materials inside Member Areas.
In this video, I’d like to show you how a student experiences your course materials inside Member Areas.
Member Areas is where I used to house all my video course materials for my group coaching program, Millionaire Web Designer. However, due to some specific needs, I have since migrated to Circle.
If you’d like to know more about the Circle experience and how the platform looks from the inside, check out my video walkthrough in Blog 107.
But for now, a view of Member Areas from the student’s point of view.
Watch the video below:


092: 5 Steps to Easily Set Up Member Areas
Member Areas is a new feature rolled out by Squarespace that allows you to host an online course, offer a membership or other content behind a paywall or offer free curated content for specific users, all on your website.
In Blog + Video No. 091, I walked you through the steps for setting up a login page so that your students can sign into your program. In this video, I want to show you the first four of the five steps you need to make your online course/membership content available for purchase.
As you may know, Member Areas is a new feature rolled out by Squarespace that allows you to host an online course, offer a membership or other content behind a paywall, all on your current Squarespace website.
In Blog + Video No. 091, I walked you through the steps for setting up a login page so that your students can sign into your program. But before you can do that, you need five things ready to go. In this video, I will walk you through these five steps.
These five things are:
1. You need to enable Member areas
2. You need to purchase a plan - meaning subscribe to Member Areas.
3. You need to connect your payment processor - Stripe/Paypal or both
4. You need to create your member area - meaning name your member area and set up your member fee - what your students or members will pay.
5. Then build out the content for at least the first page of your member areas such as a welcome page.

Host & Sell Your Courses, Memberships or Online Workshops through Squarespace Member Areas
Click the image below to watch video:

Let’s get started.
Step 1. Enable Member Areas
First, you will need to enable member areas, in other words activate it in your account. To do that, go into the backend of your website and head over to Settings. Then click on Member Areas and simply toggle it on.

Step 2. Purchase a Plan for Member Areas (Subscribe to Member Areas)
You can purchase a plan for Member Areas from your within your Pages Panel. So head over to Pages and then scroll down to Member Areas and click the blue arrow. It will tell you that it's an add-on feature.
So click the Select Plan button and choose from these three options. You have the break down here so you can make the best selection but a quick summary: if you want simply a single member area go for the Starter plan, if you want more than one and up to three go for Core and if you want 10 or so go for the Pro Plan.
Also notice the difference in the transaction fees at each plan level. After you have a plan that you like click select and purchase.

Step 3. Connect to a Payment Processor (Stripe or PayPal or both)
In your dashboard, head over to Settings and then Member Areas and then click Payments. Here you have the option to set up Stripe and PayPal. You can do both. Click on the Stripe Connect button and it will open up a window. If you already have a Stripe account then you can simply sign in and if you don't have a Stripe account at all, this is where you can set it all up. You can do the same to connect your PayPal. Simply click Connect and follow the instructions.

Step 4. Create a Member Area (Give A Name & Price)
Here you will select a name and set up the pricing. We are now in the Pages Panel. Come down to the Member Area section, click on the plus sign and then Setup Member Area. Here you can add a name for your online course or membership site. In my case, it is Squarespace Fundamentals On Demand Workshop.
You also have the option to set a recurring fee which is appropriate for a membership program or a one time fee or even free. In this case, I'm going to select One Time and add in the cost of the on-demand workshop. It will still say membership fee but we know it's just a one time fee. That's it. Now you're ready to set up the content.

Step 5. Build the Content Inside the Member Area
Creating content in your Member Area follows the same rules that you use for setting up other pages on your website. Simply click the plus sign here to add a new page and build your content area. You can select any of these layouts and add video, text content, audio files, PDFs and anything else that would help your students.

And that's it. These are the five steps that you need to have ready before we can go on and create a login page where your students can actually purchase your program and log into your Member Areas to access the content that you have created. Check out Blog No. 91 to see how you can do that.
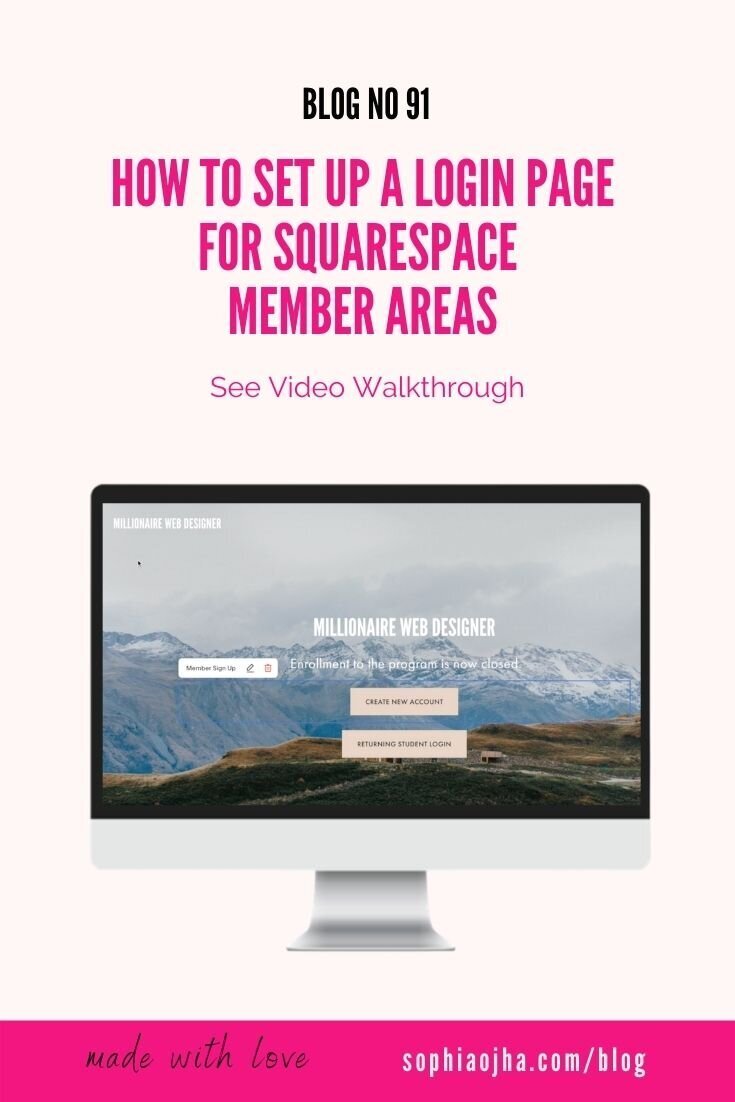
091: How to Set Up Login Page for Squarespace Member Areas
There’s a lot to cover about Member Areas but for today, I want to address only one thing and that is how do enable a login feature so that your students can sign into your program.
You may have heard about a new feature that Squarespace recently rolled out called Member areas. You may have seen it show up in your Pages panel. And I am so excited that Squarespace released it because all this time I have been teaching the students of my online course, Host Your Course, how to use Squarespace for hosting their online programs or memberships. And now Squarespace has just made the whole thing streamlined, more professional, simplified and just simply beautiful.
Now there’s a lot to cover about Member Areas but for today, I want to address only one thing and that is how do enable a login feature so that your students can sign into your program.
What you need to know is that before you can set that up, you need to have these five things in place.
1. You need to enable Member areas
2. You need to purchase a plan - meaning subscribe to Member Areas.
3. You need to connect your payment processor - Stripe/Paypal or both
4. You need to create your member area - meaning name your member area and set up your member fee - what your students or members will pay.
5. Then build out the content for at least the first page of your member areas such as a welcome page.

And I say at least the first page because you don’t need to have all the content created in order to enable students to enroll. This is especially helpful if you are dripping content week after week. If you want to give access to content to your students week by week, then they can already purchase and start going through your welcome page content and you can then make the content available as it becomes ready.
But now let’s take the next step which is setting up a way for your students to log in to your program from your website.
Alright, so let’s jump in.
Create a Login Page For Your Squarespace Member Areas
Click the image below to watch video:

Activate the Login Link in Top Navigation
The first thing I want to show you is how to activate the login link on the top navigation of your website. So head over to the back end of your website. And click into Edit Site Header. And then jump into Elements. You will see four option now and you wanna go to Account and activate it like so. Notice how the Login link instantly appears in the right corner of the top navigation. I am going to click save. And look at my site as a site visitor will see it using incognito. And I can see the login link is activated.
When I click on it a box opens up. And there are two things that a student can do here. 1. they can add in their email and password to login. and 2. They can create their account which will be important to do for new students.
Better Clarity For Enrolling New Students
When I am enrolling new students in my program, this box is not very clear and helpful as to what you need to do as a new student. So I want to make it super clear for my students. And so what I am going to instead is to create a special login page where I can have better instructions to my students. I will show you that in just a second. But I am glad I activated the login link because I can now copy the url of this box and use it on my special login page. This will be used by returning students specifically.
Creating a Special Login Page
So now I am creating a special login page. I’st essentially millionairewebdesigner.com/login. First, I will add a button that says Student login or rather Returning Student login. And place paste the URL that I just copied from the login link. It says millionairewebdesigner.com/account/login.
So any student that is returning meaning they have already created a new account, can access the member areas by clicking here.
And then what I will do is create a way for new students to enroll. So I am going to choose a content block here that lets me add the Member Areas Sign up. This is similar to a product block if you have used that before. I will choose the Member Area (MWD - Program), and uncheck everything but the Show Join Button. I will call it “Create New Account”.
Now you can see there are two buttons but they are two different content blocks, one is a button and the other is a Member Areas Sign up content block. I can now direct my new students to go to this page so that they can create a new account, purchase and enroll into my program.
When somebody clicks the “create new account”, they can add their name, email and password and be directed to purchase and enroll into the program.
The “returning student button” allows students to login (those who have already created their accounts).
Disabling the Login Link in the Top Navigation
Now I personally don’t want the login button to show up on the top right navigation of my website. And that’s why I created a separate login page for all my students and it’s linked in the lower right corner of my footer. So I’ll just go in and disable the login link so it doesn’t show up in the top nav.
That’s really it. I like how the login page looks. It has two distinct buttons presented with crystal clear clarity so both my new and returning students know exactly how they can get into the program.
How are you using Member Areas?
I’d love to know in the comments how you are using Member Areas in your business. And if you are not, what kind of decisions you still need to make in order to make it happen. Chime in the comments and let me know!
Peace,
Sophia